Learning Strategies for Increasing Independence

By Arianna Coles, M.OT
Reprinted from 3.21: Canada’s Down Syndrome Magazine (Issue #11: The Independence Issue). Click here to download the full magazine.
Self-care refers to one’s ability to take care of themselves, and includes skills such as grooming/hygiene, toileting, dressing and feeding. These are our activities of daily living, which are the skills we often associate with independence and encourage our children to practice as they grow towards independence.
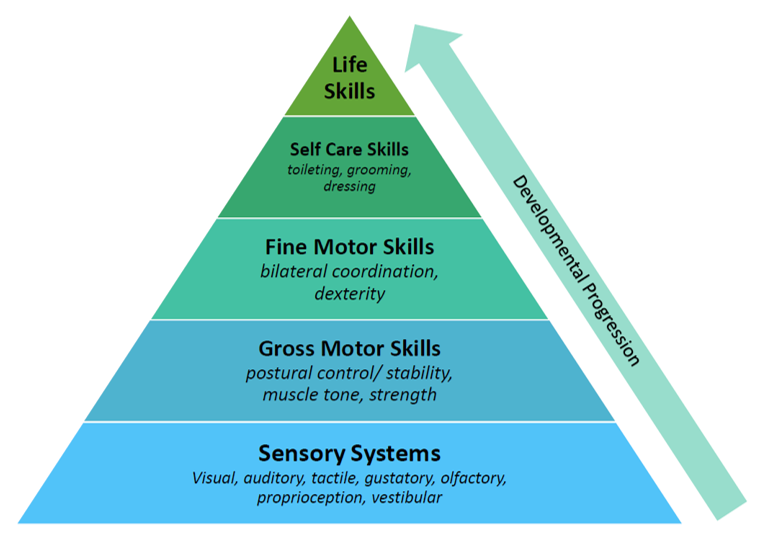
In order to work towards success with these skills, we first need to ensure that the child has the basic foundations. The ‘Skill Development Pyramid’ can be a helpful way to conceptualize this.

At the base are the sensory systems. The way that we process sensory information is central to our ability to self-regulate, learn and perform in the other areas. Once the sensory systems are in place, we can work on developing gross motor skills (or the skills that are required to do things like keeping our balance, walking, and running), followed by fine motor skills (required for tasks requiring dexterity, including dressing, feeding, and grooming). Self-care skills can begin to develop following a solid foundation in these three areas.
Some of the strategies we find most effective in teaching self-care skills to children with Down syndrome include modeling, using visuals, backwards chaining, and practicing through play.
- Modeling: One of the best ways to help your child learn a new skill is to show them! This is a no-pressure way to get your child interested and can serve as a huge motivator for them to want to try it themselves.
- Visuals: Children with Down syndrome are very strong visual learners. Providing a visual sequence that clearly breaks down all the steps of a skill helps the individual learn the skill step-by-step. Visuals can also help to increase their independence with these skills.
- Backwards Chaining: Backwards chaining refers to taking your child through all the steps of a skill, and supporting them to complete the last step on their own. This allows your child to feel an immediate sense of success, which can help to motivate them to continue to work on the skill. Once they have mastered the last step, teach them the second to last step, working backwards through each until they can complete the skill independently.
- Practicing Through Play: Practicing self-care skills through play can be another fun way to motivate your child to get engaged with learning a new skill. Incorporate their interests and have fun with it!
To help give you a better idea of what these strategies might look like in practice, let’s break them down in the context of grooming/hygiene, toileting, dressing and feeding:
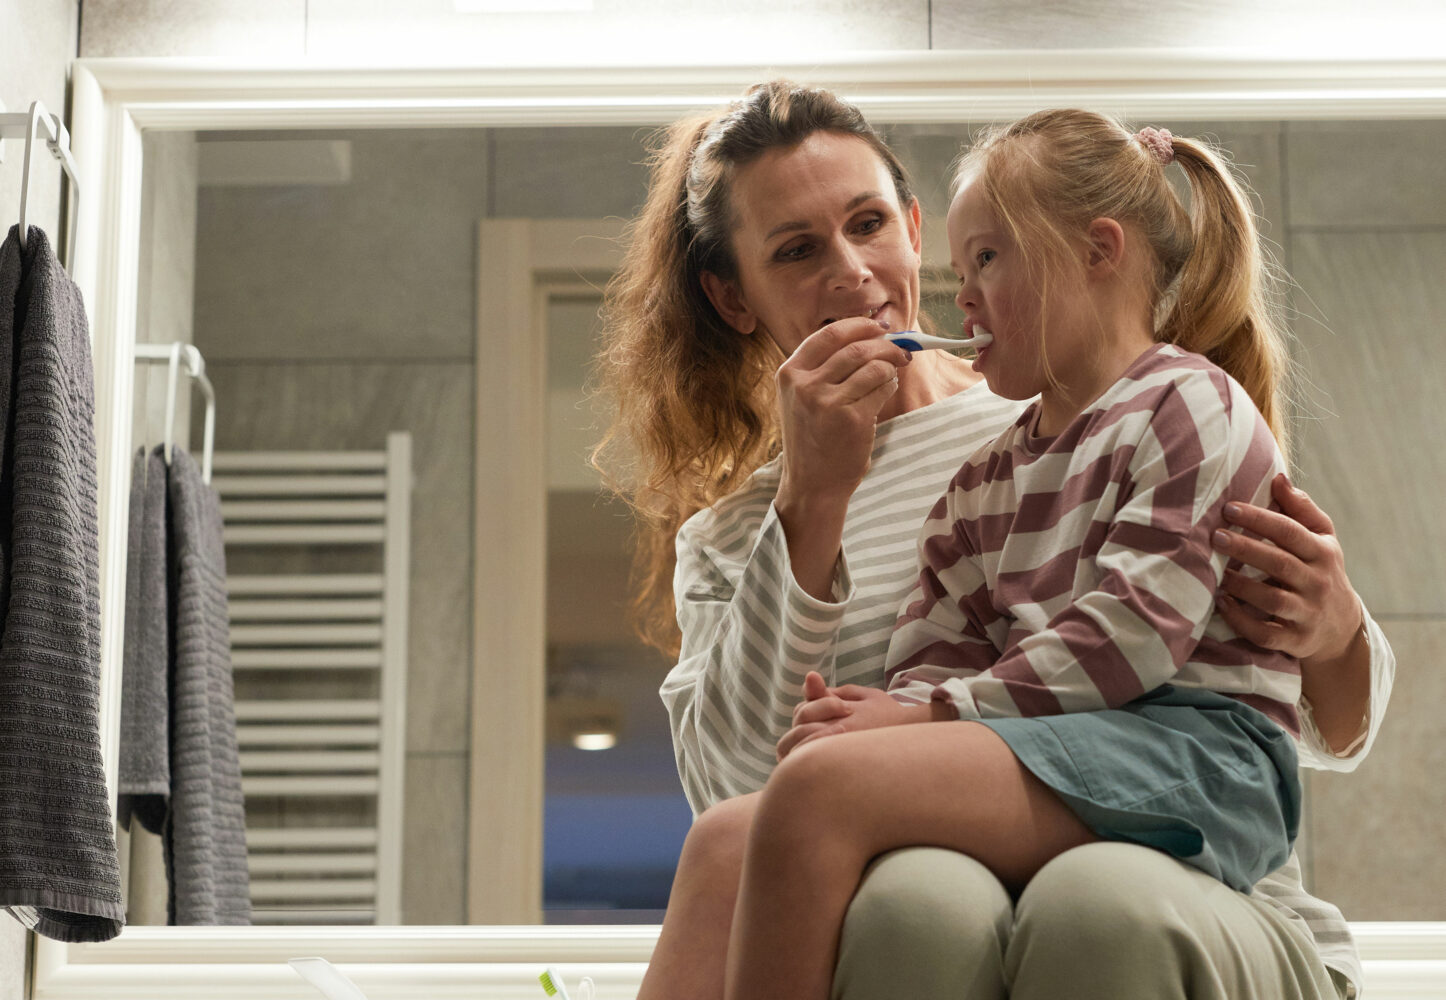
Grooming/Hygiene (eg. Brushing teeth)
- Modeling: Start by demonstrating how you complete a skill, like brushing your teeth. Use specific language to narrate the process (ie. “First I’m going to put water on my toothbrush, then I’m going to brush my top teeth. I’m going to scrub the back, then the middle, then the front. Then I’m going to spit in the sink.”). This can really help your child get a sense of what is involved. Gradually scale back your modeling as your child starts to get the hang of the process themselves.
- Visuals: Provide a visual that breaks down the skill step-by-step. Taking the example of brushing your teeth, the visual could look something like the following, with as much or as little detail as your child needs to support them through the skill:

Using something like a visual timer or a sand timer can also help your child understand how much they need to do (ie. 1-minute) before they can move on to the next step.
- Backwards Chaining: Allow your child to complete the last step of the skill (eg. for brushing teeth, putting the lid on the toothpaste) until they have mastered it, then move on to the second to last step (wiping mouth) until they have worked backwards through all the steps.
- Practicing Through Play: Starting to practice by brushing teeth of favourite toys or stuffed animals can be a fun way to motivate your child to participate.
Toileting
- Modeling: Start by demonstrating what it looks like to use the toilet. Leaving the door open to the washroom can be a good way to get your child used to the routine for toileting, and to start to make the connection that we use the toilet when we need to ‘go pee or poo.’ Modeling not only toileting, but the steps following, including hand washing, can be a helpful way to introduce your child to the skill.
- Visuals: Using visuals to clearly lay out the sequence for toileting can also be helpful. As with the teeth brushing routine, the visual can be as detailed or simple as your child needs. The general steps would include: pull down pants, sit on toilet, pee or poo, toilet paper, wipe front to back, pull up pants, flush, wash hands.
Think about all the requirements of the toileting routine, as there may be individual skills within the routine that need to be taught. For example, rolling, grasping, tearing the appropriate amount of toilet paper, and folding it may need to be taught as separate skills. The same may be the case for handwashing.
- Backwards Chaining: Encourage your child to complete the last step of the toileting routine first (eg. pulling up pants), until they have mastered it, and gradually work your way backwards step-by-step.
- Practicing Through play: Reading books or watching fun videos/songs about toileting can be another fun way to introduce your child to the idea of toileting. Pretend play with dolls or toys can also be a great introduction. Practicing wiping with dolls first can also help to provide your child with an idea of how, where on the body, and how much they need to wipe.
Dressing (eg. putting on shirt)
- Modeling: Start by demonstrating the particular dressing skill you are working on with your child. For example, if you are working on putting on a shirt, model and narrate all the steps for them.
- Visuals: Use visuals to lay out all the steps for dressing in as much detail as necessary. For example, Hold shirt from the top, tag at the back, picture at the front, place front down on bed/table, arms in, head in, pull shirt down at front and back.
- Backwards Chaining: Encourage your child to complete the last step of the shirt donning process (ie. pull shirt down at front and back) until they have mastered it, followed by moving to the second last step, until they work their way through all of the steps.
- Practicing Through Play: Practice dressing dolls, stuffed animals, etc. so they can see what they need to do in a fun way!
Feeding (eg. self-feeding)
*Note: The following is only an example and may not apply to your child’s current level of ability. What you work on with your child in relation to feeding will depend on their skill level as well as their level of safety. Please check-in with your occupational therapist, speech language pathologist, or feeding specialist to establish a plan that is safe and appropriate for your child’s skill level.
- Modeling: Sit facing your child during feeding practice. Model holding the handle of the spoon, scooping, bringing the spoon to your mouth, closing your lips around the spoon, and swallowing. Model returning the spoon to the plate, either to get another bite, or to put it down. This will help your child to understand that this is where the spoon goes.
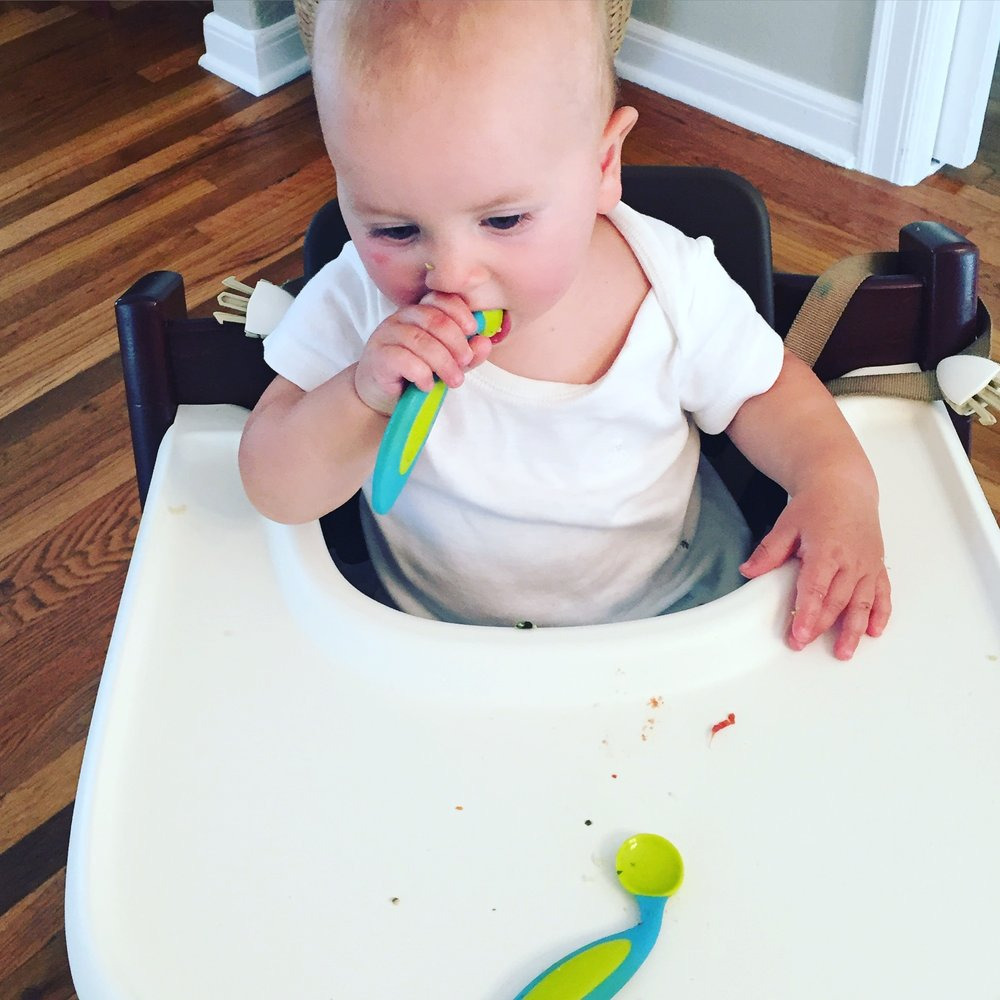
Keep in mind that your child is still learning how to grasp. You can encourage them to grasp items more effectively by modeling and presenting the item in a way that is easy for them to grasp (ie. no hand position adjustment required). Ensure they grasp in a place that allows enough length to insert effectively into the mouth (see image below).

- Visuals: Use visuals as needed to support the self-feeding process. Depending on what your child is working on and what their needs are, a variety of visuals could be helpful. For example, if your child is working on pacing or eating slowly, you could use a visual that shows something like: ‘Little bite, spoon down, chew, swallow, wipe mouth, repeat.’
- Backwards Chaining: Start with the last step and work your way backwards. For example, if working on self-feeding with a spoon, your child would focus on assisting you to move the spoon into their mouth (from right in front of their mouth), until they become comfortable with doing so independently. Then gradually work backwards through the steps, bringing the spoon further away from the mouth, grasping the spoon effectively, scooping, etc.
- Practicing Through Play: Practice feeding dolls or toys in conjunction with feeding practice. Having a doll tea party or lunch can be a fun way to put some of those skills to practice!
Occupational therapists can also provide adaptive equipment, ideas for skill adaptation, or compensatory strategies to support your child to achieve success with their self-care skills. Begin working on your child’s self-care skills from an early age, even if you are just modeling the steps for them, reading books about it, or doing pretend play activities to begin with. Get them involved! This can help them to become comfortable with what these skills look like so that when they are ready to work on them, they have a sense of the expectations and steps that are required.
Each child has their own developmental trajectory. Meet your child where they are at. Provide that ‘just-right’ level of support for them to achieve success, utilizing the strategies laid out here, and any additional approaches you may find helpful. They will be doing it on their own before you know it!
